
Quick summary
To care for your otamatone correctly: clean the tactile neck with a slightly damp microfibre cloth, change the batteries when the sound distorts or tonal range narrows, store it away from heat and without pressure on the rubber face, and keep the battery compartment dry. With these four habits, a well-maintained otamatone easily lasts 10 years or more.
How to clean the otamatone's tactile neck
The neck is the most sensitive component: it is a resistive touch sensor that detects your finger position to generate pitch. With regular use it accumulates grease and sweat, which reduce sensitivity and cause the instrument to sound choppy or stop responding in certain zones.
What you need
- A clean microfibre cloth
- Water (or 70% isopropanol for stubborn marks)
- Cotton buds for junction areas
Step-by-step process
- Switch off and remove batteries before cleaning. Never clean with the instrument on.
- Very lightly dampen the microfibre cloth — it should be almost dry; you do not want water touching the electronics.
- Wipe the neck with gentle strokes from head to handle. Avoid the junction zone where the neck meets the head (where the speaker is).
- For stubborn marks, use 70% isopropanol on the cloth (never applied directly). It evaporates quickly and leaves no residue.
- Dry with the clean side of the cloth before reinserting batteries.
- Recommended frequency: every 4–6 weeks with normal use; more often if you play with greasy hands or in humid environments.
How to clean the rubber face
The otamatone's face is made of soft rubber that collects dust and grease easily, especially in the grooves around the mouth. It is more robust than the tactile neck but still needs careful treatment.
- Use warm water with a drop of mild soap applied with a cloth or cotton bud.
- Avoid concentrated alcohol (>70%) on the rubber — it can dry it out and cause micro-cracks over time.
- After cleaning, dry thoroughly with a dry cloth before storing or playing.
- If the rubber smells after long storage, simply air it for a few minutes.
Battery management
Which batteries does each model use?
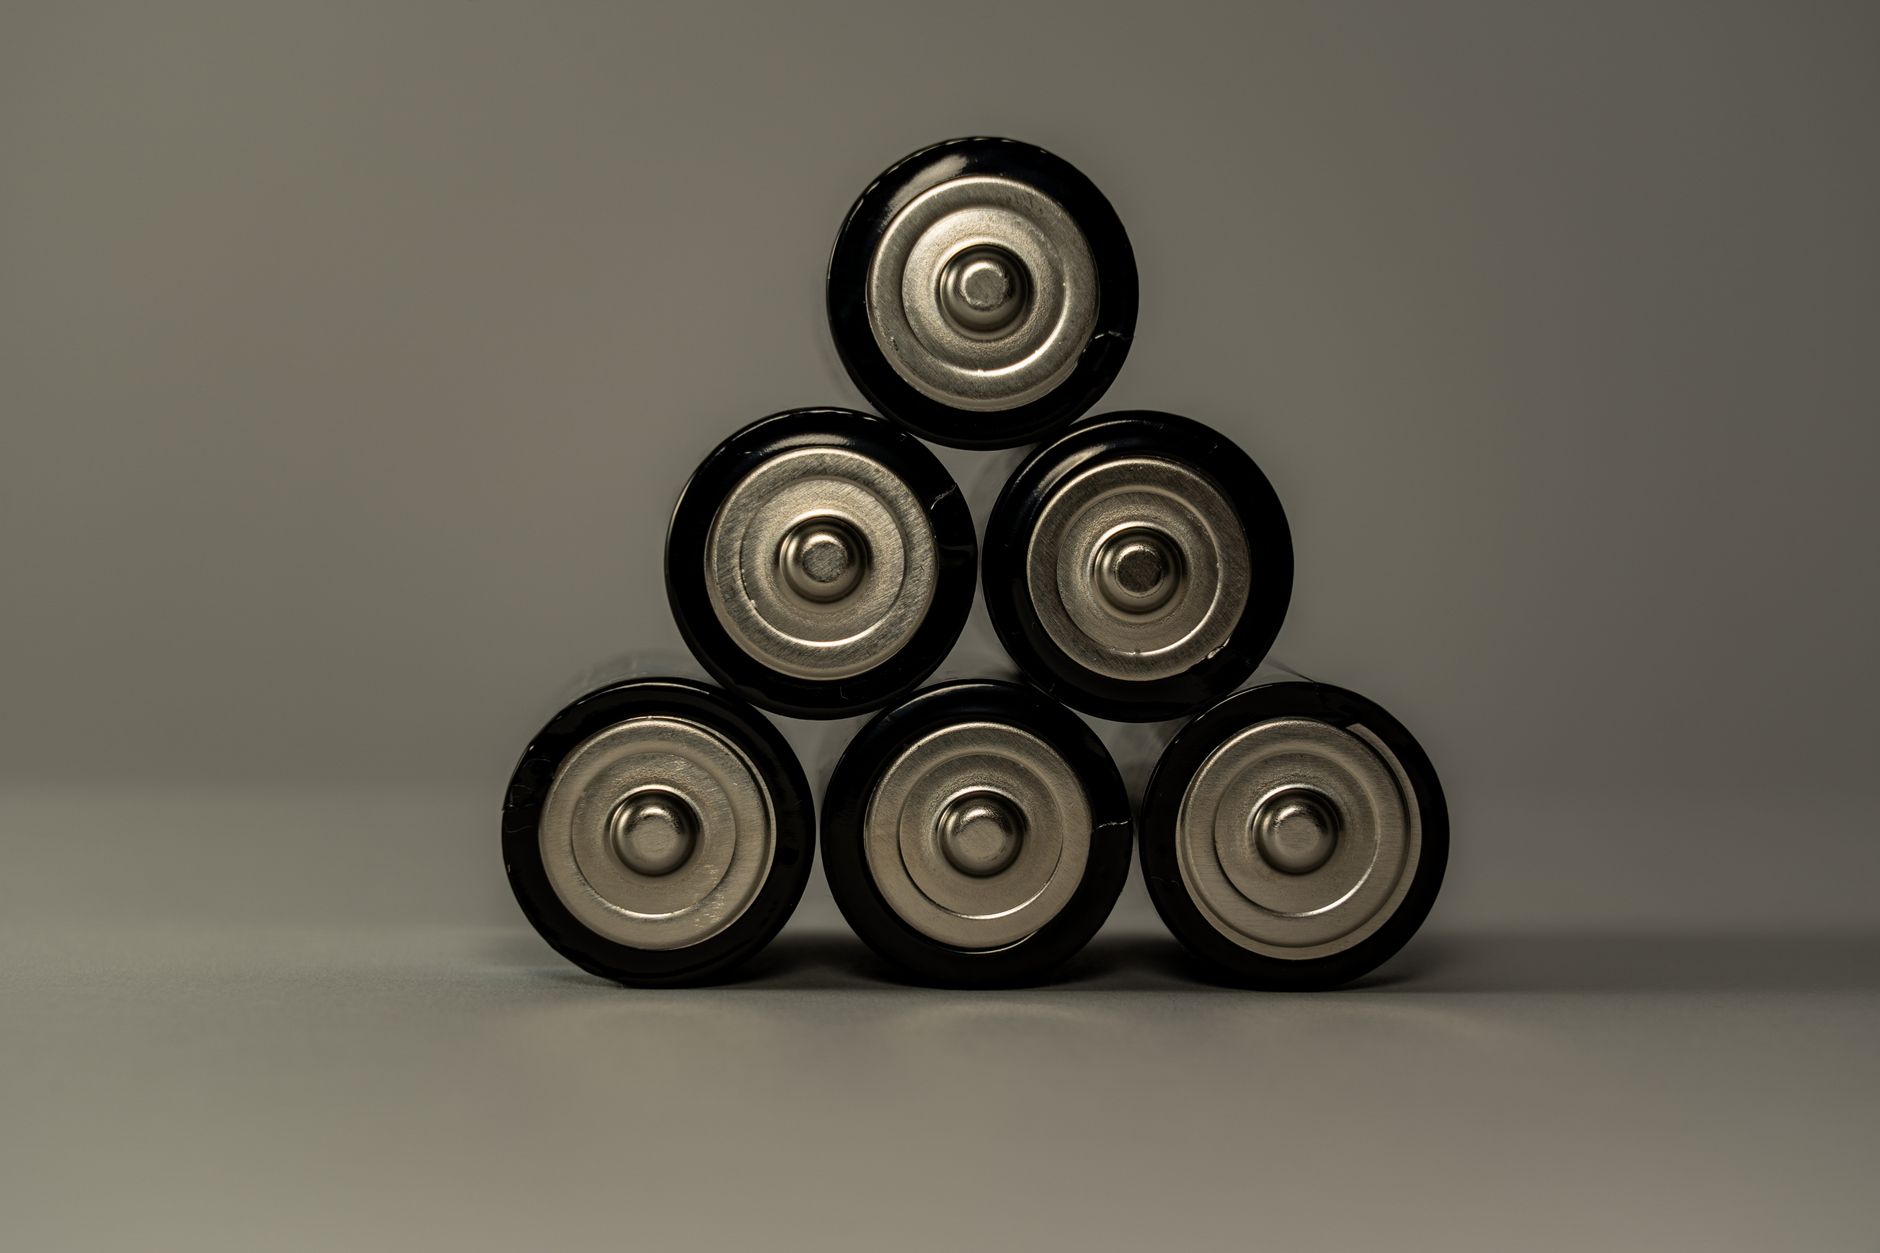
| Model | Batteries | Qty | Approx. life |
|---|---|---|---|
| Otamatone Melody | AAA (LR03) | 3 | 4–8 weeks |
| Otamatone Classic | AAA (LR03) | 3 | 4–8 weeks |
| Otamatone Neo | AAA (LR03) | 3 | 4–8 weeks |
| Otamatone Deluxe | AA (LR06) | 4 | 6–10 weeks |
| Otamatone Techno | AA (LR06) | 4 | 4–7 weeks |
Signs that batteries need replacing
- The tonal range narrows — the otamatone can no longer reach the highest or lowest notes it used to.
- The sound distorts or sounds rough compared to fresh batteries.
- The instrument powers off by itself during play.
- The neck responds poorly even after cleaning.
Battery best practices
- Always use branded alkaline batteries (Duracell, Energizer, Varta). Carbon-zinc batteries last less than half as long.
- Remove batteries if you won't use the otamatone for more than 4 weeks — old batteries can leak and corrode the contacts.
- If you find white residue on the contacts, clean with a cotton bud dipped in diluted white vinegar or lemon juice (mild acid that neutralises alkaline leakage). Dry thoroughly before inserting new batteries.
- Never mix old and new batteries or batteries from different brands in the same compartment.
How to store the otamatone correctly
Storage is one of the most common sources of invisible damage. Follow these guidelines:
- Position: store vertically or on its side, never with weight pressing on it. Sustained pressure on the rubber face can permanently deform it.
- Temperature: between 15°C and 35°C. Avoid car interiors in summer (can exceed 60–70°C), sunny windowsills and areas near radiators or heaters.
- Humidity: keep in a dry environment (below 70% relative humidity). In very humid climates, store in a zip-lock bag with a silica gel sachet.
- Dust: a cloth pouch or the original box are ideal for long-term storage.
- Remove batteries if storing for more than 4 weeks (see battery section above).
Troubleshooting common problems
Otamatone won't turn on
- Check that the batteries are correctly oriented (match + and − markings in the compartment).
- Make sure the side switch is fully in the ON position.
- Try brand-new batteries even if the current ones are recent — they may be faulty.
- Clean the metal contacts in the compartment with a dry cotton bud.
Otamatone not working after battery change
This is one of the most common support questions, and it is almost always one of five causes — check them in this order:
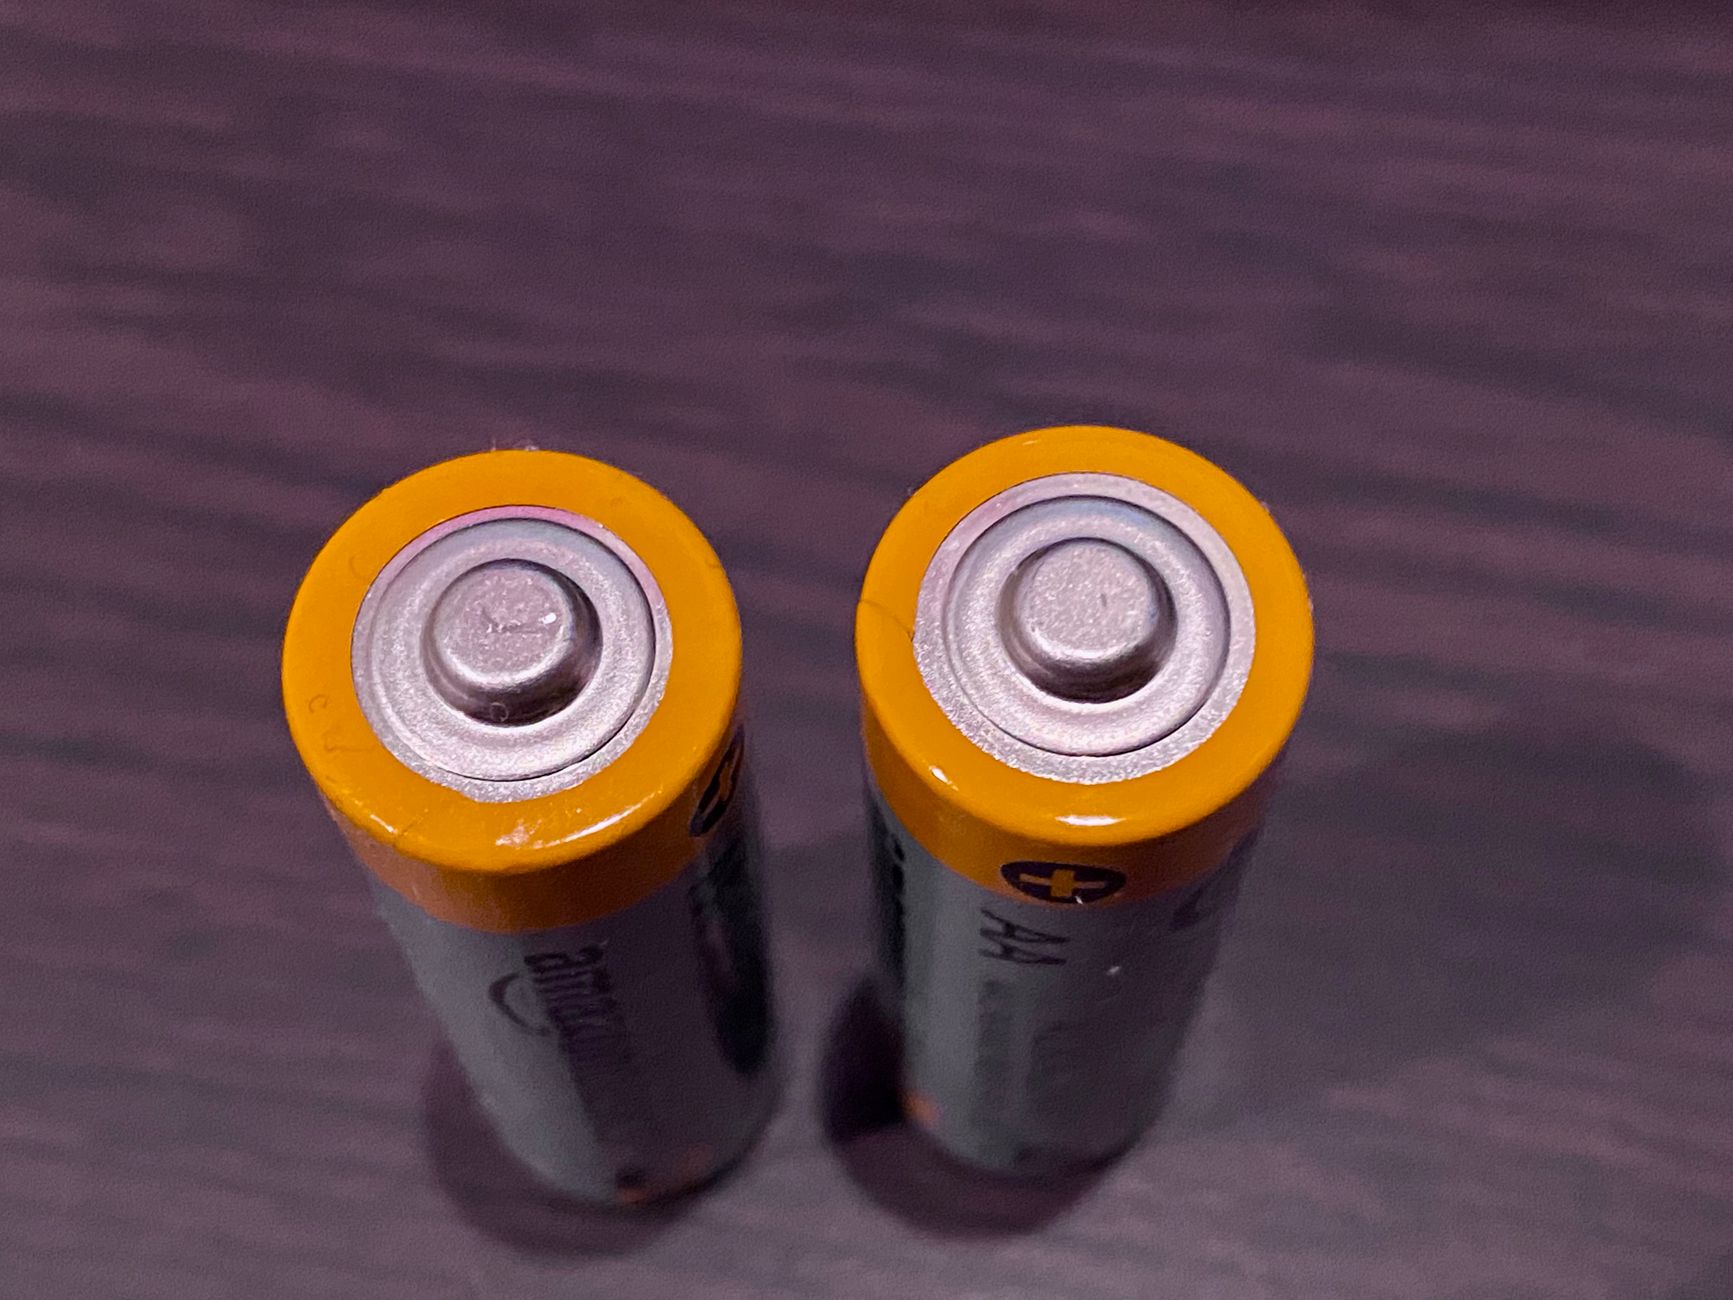
- Reversed polarity on one battery. With 3 batteries in a row it is easy to flip one by mistake. Take all of them out and reinsert following the +/− diagram printed inside the compartment — check each one individually, not just the first.
- Compartment lid not fully closed. Most models use a small clip or screw-in lid that must click or seat flush; if it is slightly open, the internal spring contacts lose pressure and the circuit never closes.
- Bent or dirty spring contacts. Repeated battery changes can push the thin metal springs out of position, or old batteries may have left a faint residue. Gently bend the springs back with a plastic tool (never metal, to avoid shorts) and wipe with a dry cotton bud.
- Mismatched or low-quality batteries. Mixing old and new batteries, or using generic carbon-zinc ones, can leave just enough voltage to look "inserted" but not enough to power the circuit. Use three matching, fresh alkaline batteries.
- Side power switch not toggled after the change. Some units power off automatically when the compartment is opened; after closing it, slide the switch off and back on to force a reset.
If none of these five steps restores sound, the issue is more likely the tactile neck sensor or the internal speaker — see the sections above and below on cleaning and distorted sound.
Neck doesn't respond in some areas
- Clean the neck with a lightly damp microfibre cloth (see cleaning section).
- Make sure your finger is clean and grease-free when playing.
- Some models have a small dead zone at the very top of the neck near the head — this is normal and not a defect.
Sound is distorted or metallic
- First, replace the batteries — distortion is the clearest sign of depleted cells.
- With fresh batteries, check that the speaker in the head is not blocked by dirt.
- A metallic intermittent sound can be the rubber touching the speaker internally; adjusting the head position usually resolves this.
Otamatone got wet
- Remove batteries immediately. Do not switch on even if it seems to work.
- Gently shake to expel visible water.
- Air-dry for at least 48 hours in a warm, dry place (never with a hairdryer).
- Optionally bury in a bag with dry rice or silica gel to accelerate drying.
- After 48 hours, insert fresh batteries and test. In most mild-wetting cases, the instrument fully recovers.
FAQ
How do you clean the otamatone's tactile neck?
Use a slightly damp microfibre cloth (water or 70% isopropanol). Wipe from handle to head with gentle strokes. Avoid getting moisture into the speaker area. Never use bleach, acetone or undiluted alcohol — these damage the resistive layer of the neck sensor.
What batteries does the otamatone use and how often should they be changed?
The Melody and Classic use 3 AAA (LR03) batteries; the Deluxe uses 4 AA (LR06). With normal use of 30–60 minutes daily, batteries last 4–8 weeks. Signs of low batteries: narrowed tonal range, distorted sound, or spontaneous power-off.
How should you store the otamatone?
Store it vertically or on its side with no weight pressing on the rubber face. Keep it between 15°C and 35°C, away from direct sunlight and heat sources. Remove batteries if storing for more than 4 weeks to prevent leakage and corrosion.
Why is my otamatone not making sound or sounding distorted?
The most common causes are: depleted or incorrectly inserted batteries (check polarity), a dirty neck reducing sensor conductivity, or corroded battery contacts. Replace batteries first, then clean the neck if needed.
Can the otamatone get wet?
No. The otamatone is not water-resistant. If it gets wet, remove the batteries immediately and let it air-dry for at least 48 hours. Do not use a hairdryer — the heat damages the plastic and electronics.
Why is my otamatone not working after a battery change?
Check five things in order: reversed polarity on one of the three batteries (the most common cause), a compartment lid that isn't fully closed, bent or dirty spring contacts inside the compartment, mismatched or low-quality batteries, and the side power switch not being toggled off and on again after closing the lid.
Otamatone not working after battery change: what should I check first?
Check polarity on each battery individually (one flipped cell is the top cause), confirm the compartment lid is fully closed so the spring contacts make pressure, inspect those spring contacts for dirt or bending, avoid mixing old and new or off-brand batteries, and toggle the side power switch off and back on after closing the lid to force a reset.